Animation Elements – V2
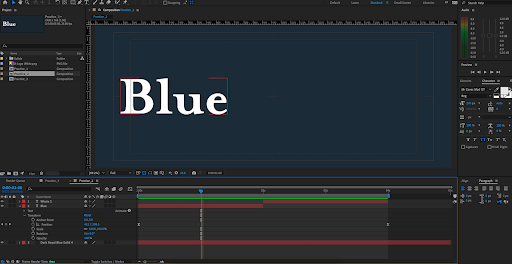
This animation technique was very simple to do in practice after watching a tutorial on how to do it. First I created the background solid in the dark blue colour. Then set up both text layers with the separate words ‘Blue’ and ‘Whale’. Next I decided how long I wanted the clip to be. After the set up was complete it was time to set up the animation.


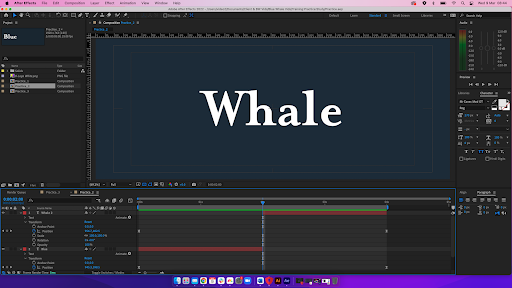
First I needed to decide where I wanted the text to swap over during the motion. Once that was done I selected both text layers and used the shift + command + ’D’ to trim both at the same point, deleting the end of the ‘Blue’ text and the beginning of the ‘Whale’ text.
Finally, I used keyframes to animate the motion on the layers, making sure that the animation followed the same path on both, ensuring that the movements matched up, even for the bits that were not on screen at that time. This was so that I could then use the graph tool (couldn’t get screenshot of this) to tweak the movement of the animation, making it smoother and also using this tool to ‘hide’ the switching of the text, this was done by adjusting the graph so that the speed of the movement was the quickest where the two layers intersected, meaning they were both moving at the same speed at the time of the transition, and therefor making the transition look more seamless and less obvious. After that, the animation was completed.


