Animation Element V3
To create this animation I followed the step-by-step example from School in Motion on YouTube – https://www.youtube.com/watch?v=plbsdkRhy8gb
First I set up my components for the animation, the background solid colour and the line of full-stops. Once this was done, I highlighted and clicked on the animate button to select the option for “Enable per-character 3D” which would enable to animation to work well, but also made sure all characters had a 3D effect at the end of the animation.
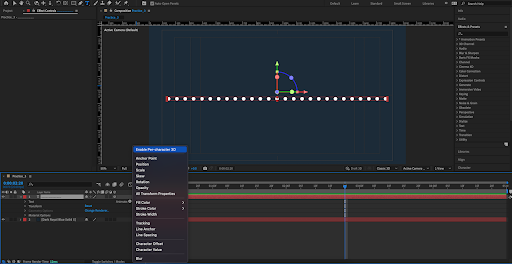
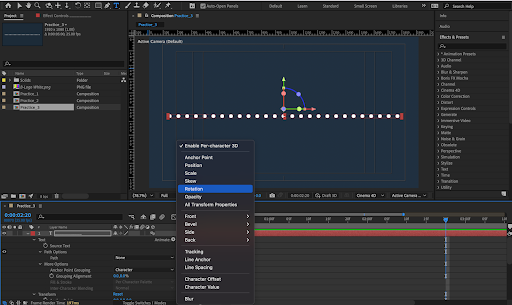
I then used the animate tool again to select and add ‘Rotation’ animation for the final look of the animation.
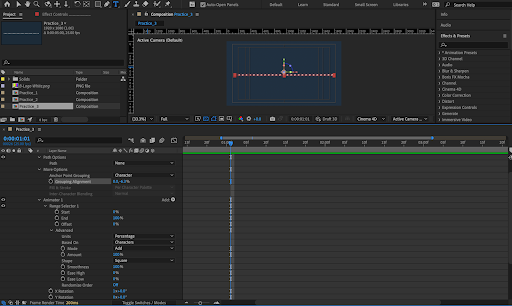
Once the rotation was added, I played around with the different settings such as the ‘grouping alignment’ and the ‘X’ rotation.
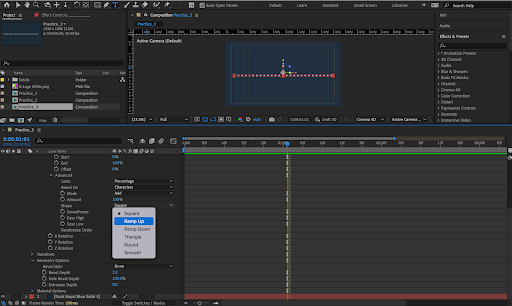
I then changed the ‘Shape’ setting to ‘Ramp up’ which caused the line of dots to look like it curved in on itself at certain points.
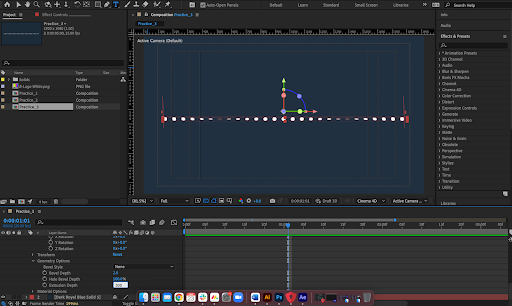
I then played around with the ‘Extrusion Depth’ which elongated the dots into lines.
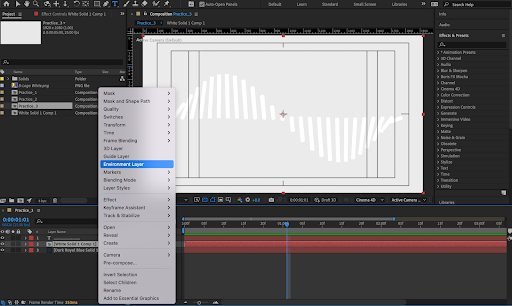
Next I created a white solid layer, pre-composed it, the once pre-comped, right clicked and turned this layer into an ’Environment Layer’ which will enable the colour change to the lines from white.
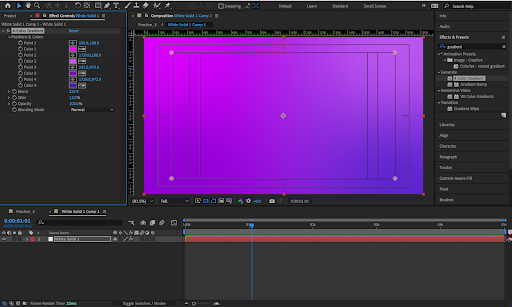
I added a 4 part gradient effect to the white solid inside the pre-comp. After that was done I had a play around with the colours to see what blended together nicely, and settled on pinks and purples.
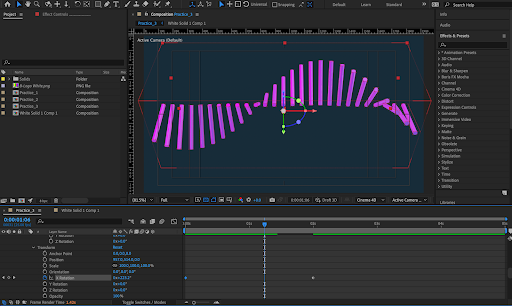
Finally, all that needed to be done was the animation, so I used keyframes and placed them at the time duration markers that I wanted the animation to go between. Then I selected the ‘X’ rotation under ‘Transform’ and set the degree to ‘360’ so it would complete a full turn for the animation duration.


