How To Make Your Videos Look More Professional
It’s simpler than you may presume to make a professional, refined video that will astound your viewers. Even if you don’t have the newest and most expensive equipment, you can still produce great videos by focusing on some key points, like these 6 tips for making your videos look more professional:
1. Use Enough Light.
Good lighting is key to a successful and professional-looking video, so it should be your top priority while filming. If you don’t use light correctly in your videos, they will look low-quality and unprofessional.
The sun provides unique lighting for videos. If you can, shoot your footage during dawn or dusk to soften the light. Avoid midday, as harsh shadows will be cast on your pictures from the overhead light.
Filming during the harsher hours of sunlight can produce glare and harsh shadows, so if you must film, then do so on an overcast day or in a shaded area. When you’re filming indoors, choose your lights and their locations carefully. Steer clear of overhead lighting to prevent unflattering shadows from forming across your face.
Instead, opt for natural light coming in through a window. Consider using one or two large lamps to produce the light you want. Consider the lighting style you want in your video before setting up any light sources.
Would you like diffused, soft light on your subject’s face? Or would you prefer more stark shadows for a more complex look? However, videos with harsh shadows can be unpleasing to the eye and take away from the professionalism of the video. Videos with little-to-no shadowing usually come off as more open and trustworthy, making them ideal for business or marketing purposes.
For flat lighting in your video, you can try balancing two light sources on both sides of the camera, behind or upfront.
2. Use an Uncluttered Clean Background.
Take the time to create a clean, professional-looking filming space by decluttering and prioritizing your background. If you want your video to look more professional, utilize a background with a single colour like a bedsheet, wall, or piece of backdrop paper. Additionally, shoot your subject from a few feet to avoid shadows on the backdrop.
You may also get better results from your videos if you film them in a “professional” space, such as where you work or spend most of your time.
If you’re filming, be cautious of what’s behind you so that windows or other reflective surfaces don’t end up in your shot. If you’re not careful, the camera might reflect in the glass. Also, placing your subject in front of a light source, such as a window, often makes the subject appear shadowy and dark.
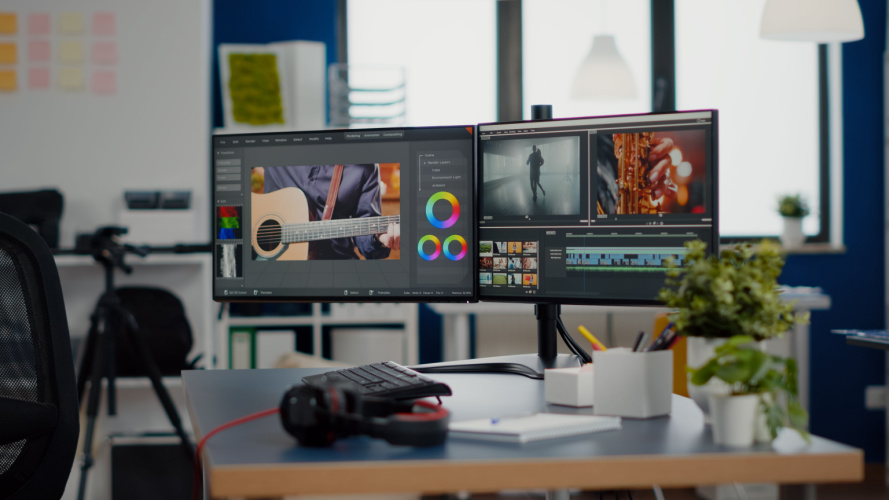
3. Find High-Quality Video Editing Software.
Countless video editing software programs are available to help convert your raw videos into a masterpiece. Wave video, iMovie and Camtasia offer simplicity for those just getting started.
However, if you’re looking for something with more professional features, Adobe Premiere Pro or Apple’s Final Cut Pro may be better suited for your needs.
If you’re looking for a great video editor, here are some key features to look for:
- Must have features that allow adding text, captions, or subtitles to video;
- The ability to crop and edit videos;
- Enable transitions;
- Change the footage ratio;
- Applying photo filters and overlays;
- A comprehensive collection of stock audio files and videos.
4. Use minimal editing techniques.
Although it might be amusing to experiment with various effects while editing your video, resist the urge to go overboard. In most cases, a straightforward, polished style looks best.
Whether you outsource your video editing or do it yourself, there are a few elements that should be addressed during this stage:
- Noise cancelling is a great way to reduce background noise and improve your sound quality.
- If you need to, adjust the lighting a bit.
- Removing pauses and silences that feel awkward.
- Add transitions and background music.
Lastly, if you’re editing a professional video, jump from scene to scene when there’s movement in both scenes- this is a more fluid and natural transition between scenes.
5. Make sure your audio is clear and concise.
Despite popular belief, audio quality is more critical than video quality when creating professional content. Although low-quality videos are not ideal, most people will still watch them if the content is good. However, most people will quickly leave a video with poor audio quality, no matter how interesting the visuals may be.
Audio quality is vitally important, so you should invest in a top-quality microphone. It’s best to get the best quality microphone you can buy- one that will last a while and perform well. You can find a great option for £80-£150. If you’re working with a tight budget, don’t worry; there are still some great options available at a cheaper price to help you start out.
Place your microphone close to the person or object you want to record for the best results. If you want to improve your recording by getting rid of crackles and blips, use a pop filter. Make sure to be aware of any excessive noise in the background that your microphone might amplify.
6. Stabilize your footage.
If your footage is shaky, it will make any professionally produced video look low quality, as if it were simply filmed on a mobile phone. Not to mention, it can make your viewers nauseous. Utilize a tripod or place your camera on a level surface to avoid shooting blurry images since it’s challenging to keep your hands completely still when holding a camera.
Also, if you’re using a tripod or other support for your camera, make sure it’s stable. Set up a solid base for the camera and use an adjustable head to quickly move between shots without shaking.
If you want your video to look professional, try to minimize the amount of movement you make with the camera. Too much panning makes the video look unprofessional. It’s always better to change perspective by cutting from one scene to another instead of moving the camera.


